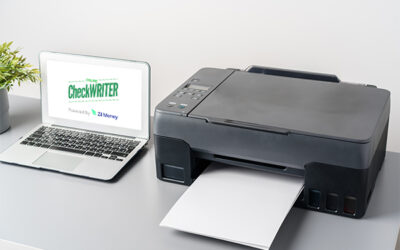
QuickBooks is a globally accepted accounting software focused mainly on small and medium-sized businesses. It offers accounting applications and cloud-based versions that accept payments of business, pay and manage bills, and all sorts of payment functions.
It is a positive factor that checks can print with QuickBooks either from home or from the office. As printing checks is one vital part of every business, business owners should know how to print checks using QuickBooks. This process has made the paperwork less, and then there is no need to have a pile of accounting papers on your table. This amazing software is online, and with all the information stored in the cloud, customers can retrieve data to print checks at any time. Another major possibility is that the data is secured.
Online Check Writer
Key figures
1M+
online business accounts
88B+
transaction volume
16M+
checks processed
How to print checks online using QuickBooks?
As the first step, click the ‘new’ icon, which is present at the left side top part of the Quick-books. After selecting that part, click on the icon print checks which come under the heading vendor. Simultaneously load blank checks, physically, into your printer. After this process, it is time to add to the bank’s details. There is a possibility that the user will possess more than one bank accounts. There will be checking accounts as well as savings accounts as well. Hence select the account from which the particular checks or checks should issue. Subsequently, add the check number to the first check. From the date options, the user can select the date to print on the checks.
In the next step, fill in the utility column and description column regarding whom and for what purpose the check issued. Enter the amount that is to pay in the amount column. In the next option, you can save the checks for printing. As the final stage move to the print checks option. Go for the preview of the check and analyze it further. You can edit and can make changes if required. If everything is correct and perfect, print checks on blank check stock. It is better to use blank check stock while printing checks using QuickBooks. The advantage of blank check stock over pre-printed checks is that more editable options are there and can edit using good check printing software OnlineCheckWriter.com – Powered by Zil Money.
Why QuickBooks to print checks?
QuickBooks are excellent tools to create and print checks in a quick manner. If an online check writing and printing software synced with QuickBooks, it becomes easy to edit, individualize checks, and print checks. This option always helps the user get all the accounts in one place and can use all the features provided by the check writing software, which makes check printing using Quickbooks an easy process.
In short, QuickBooks, along with a check writing and printing software, helps to create highly elegant and individualized checks immediately. If you are a professional or a businessman who is into print checks quite frequently, making Check printing with QuickBooks an essential part of daily professional and business life will help you.


